Showing posts with label butterflies. Show all posts

Saturday, March 28, 2015

Adamaris's Quinceanera Invites

Last month, hubby, Baby Henry, and Mommy went to Ecuador to celebrate Henry's little sister's Quinceanera, or Sweet 15. Quinceanera's are very popular in Latin and South American countries. They are the equivalent to our Sweet 16, which is what I had since I was born and raised here in the States. 

As a gift, we told my in-laws that I would make the invites for them. I already had an idea in mind: an explosion box. I had never done one before so this would be a first for me. Also, I knew NO ONE in Ecuador had seen this type of invite before. Starting in September of last year, after our church wedding, I started showing my mother-in-law ideas and color schemes. I showed her the explosion box idea from a few pins on Pinterest (my go-to place for EVERYTHING!) and she loved it!

Below I've shared a few pix of us in Ecuador. Everyone was in love with Baby Henry. He had fans from all over and on a daily basis he was surrounded by women (there are 3 in Henry's immediate family).


Here is Baby Henry with his grandparents friend Yuly, her daughter Ailee, his grandma Lauri, his aunt Adamaris, and his aunt Anabel.

Ailee loved touching his little face.

Here we all are making the 50 invites for the Quinceanera. I brought all materials with me. Most everything was precut or prescored. I brought ribbon, lace, embellies, glue gun, glue sticks, paper, punchers, my Martha Stewart scoring board. I thought of everything!

And yes I have red hair now!

Baby Henry joined us but he watched Thomas while we worked day and night for about three days straight. These had to get done pronto!

He wasn't really interested in us. Thomas had his interest.

CARD 1117
And the finished product. This is the outside.

Completed explosion boxes were lined up against the wall.

I used different colored ribbon according to what was left. For example, once I was out of coral, I went to brown, and so on.


Bam! Did this just blow your mind! It's a mini cake! Whaaaaaaa???? Shyeah!

I... Made... It... Myself...
I won't tell you what I used to decorate the cake but let's just say it added the needed touch.


And here's a pic of Daddy and baby. This is one of my favorite pictures.


Tuesday, September 28, 2010

Birthday Cards

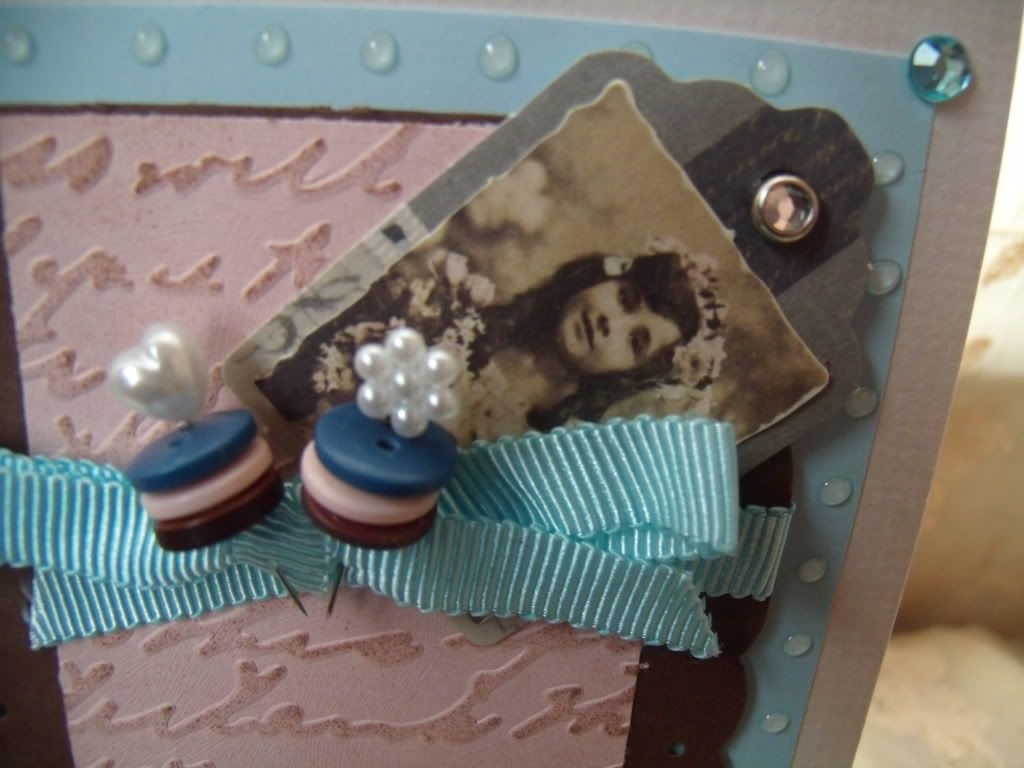
So awhile ago one of my co-workers asked me to make a Birthday card for her bestie, Lauren. She wanted something cute and Tiffany Blue.  So I came up with two cards (506 and 507). When I brought them into work Trubs, my co-worker, liked them but they weren't quite what she wanted. She looked at my site and saw CARD 500 and looooooooooved it. Then she saw CARD 473 and looooooved that one too. She couldn't decide what she wanted. So after a long time pondering which of the two, we came up with the idea of meshing both cards.

Below you have my first two ideas. Then the one I came up with using Trubs input.

On a side note: I am now posting up my cards at my Shop Handmade store.
CARD 506
Photobucket

Photobucket

Photobucket

Photobucket


CARD 507
Photobucket

Photobucket


Photobucket

Photobucket


And the lucky winner!
CARD 508


Photobucket

Photobucket

Photobucket

Tuesday, June 15, 2010

Tri-Shutter Card For A Baby Girl

Okay this is my last entry for today. This is another Tri-Shutter card. I made this for my friend Jessica from high school who just had a baby. Her name's Patricia Rose and she's such a cutie! I wanted to go with the Princess and storybook theme. The DP is from DCWV's Fairytale stack. The butterflies and ballerina dress are from a 3-D sticker set I have. And the sequined stars are some embellies my mom saw at Jo-Ann's and asked me to get. At first I didn't like them but now I'm glad I bought them because they fit right in with the color scheme. Enjoy!

CARD 503


Photobucket

Photobucket

Photobucket

Photobucket

Photobucket

Tuesday, February 9, 2010

Vanessa's Order Part Deux...

Okay, I've been a bit slow with Vanessa's order. I was out sick one weekend and too tired too work. But here's the rest of that 10 Blank Thank You card order. I've already started the 10 Company name Thank You cards and have yet to do the Birthday cards. Again these cards inspired by Cardmaker magazine. One of the best cardmaking magazines out there!!


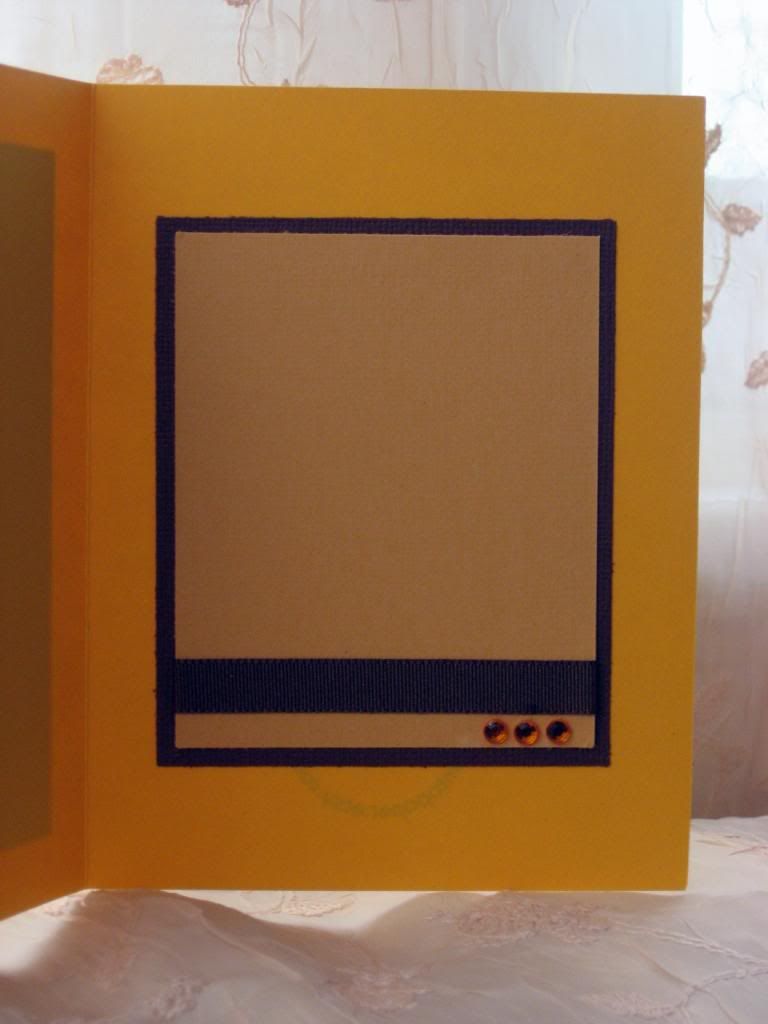
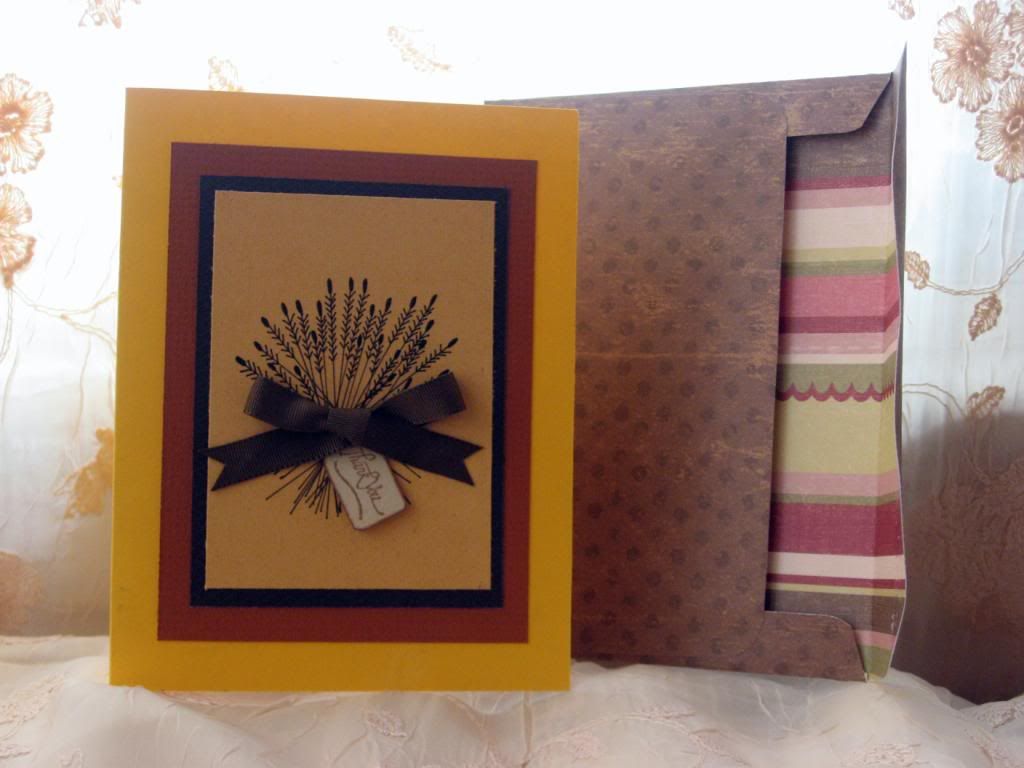
For this card below I drew the wheat spikes. It took me a long time to get it right because I am no artist! You should've seen what it looked like when I first started. A huge mess of a thang! I think this card is one of my favorites. I like the bright yellow background with the tan and brown colors.

CARD 464
Photobucket

Photobucket
 
Photobucket

Photobucket

Photobucket


I've been trying to incorporate new card shapes in my designs so I really like this one. I wish you could see it fully closed. The right sidebar from the inside can be seen outside. It looks pretty cool.

CARD 465
Photobucket


Photobucket

Photobucket

Photobucket

Photobucket

Photobucket

 
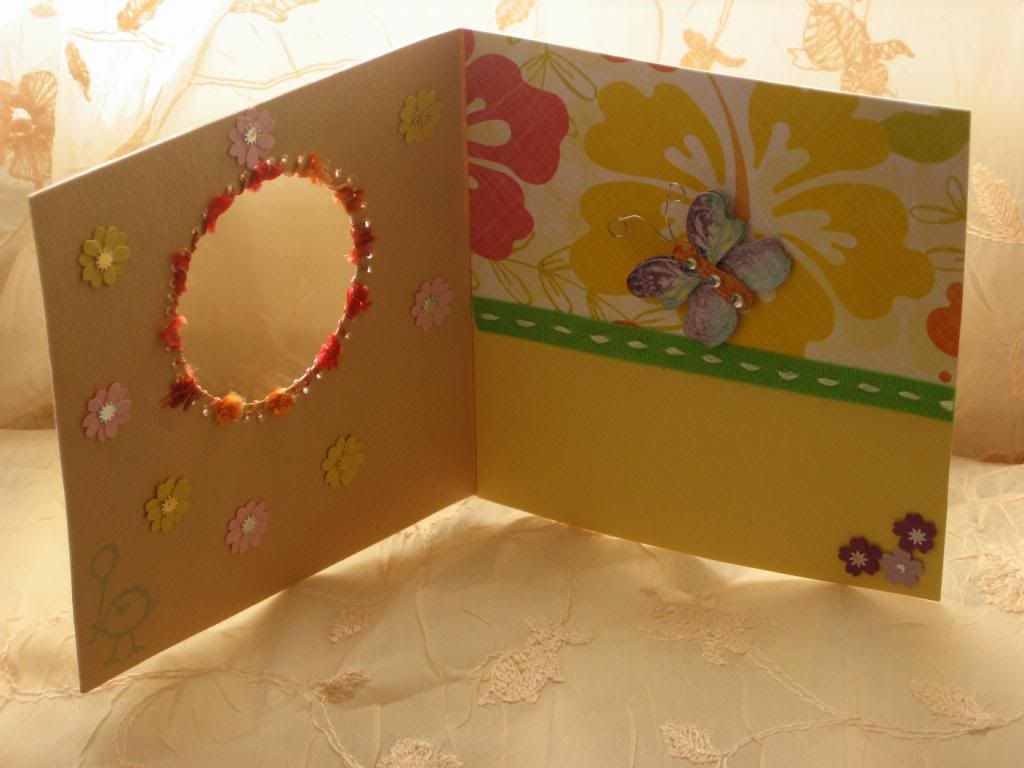
Here's another new thang I tried. The circle wasn't that easy to make. I decided to sew the ribbon around it to make it stand out more. That took awhile and I thought about quitting halfway through but I think it was worth it. I like how colorful this card came out in the end.
 
CARD 466
Photobucket

Photobucket

Photobucket

Photobucket

Photobucket

 
I love the browns in this card below as well as the tan color inside. A lot of fun to make. I think the new background I'm using adds more natural light to the cards when I take the pictures. It's basically just the curtains covering the radiator and putting my card on the radiator. I also looked around in my drawers and found my phrases kits and thank God I had two that had Thank You phrases which helps a ton 'cuz I was getting tired of using the same stamps!
 
CARD 467
Photobucket

Photobucket

Photobucket

Photobucket

Photobucket

Photobucket

 
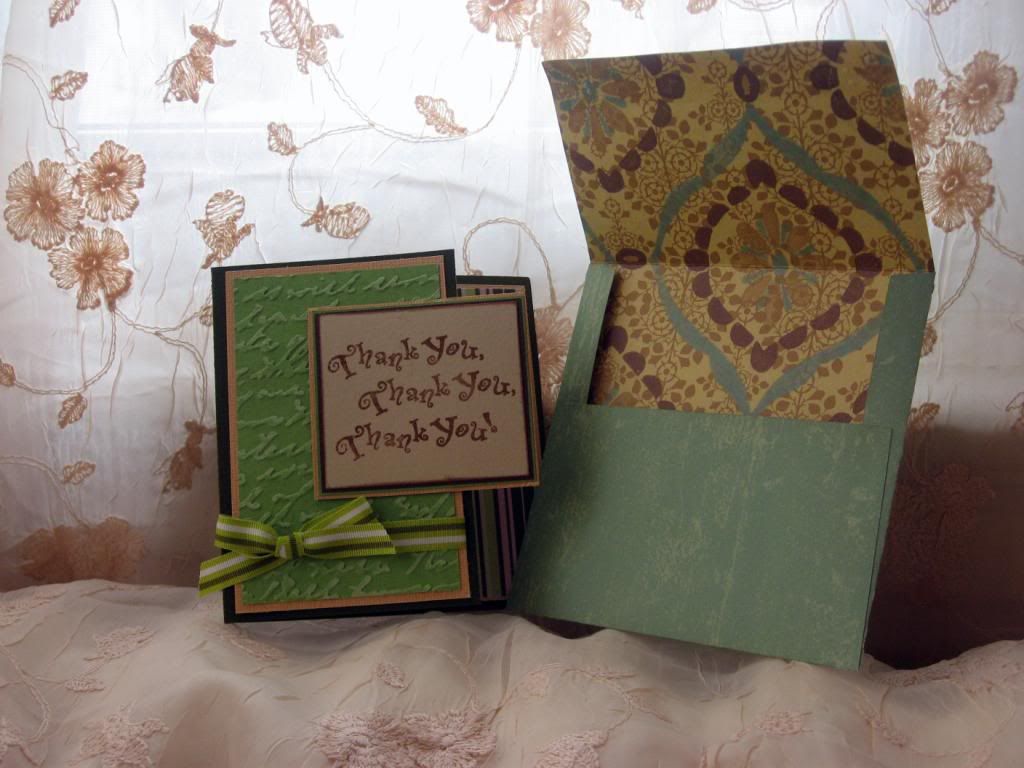
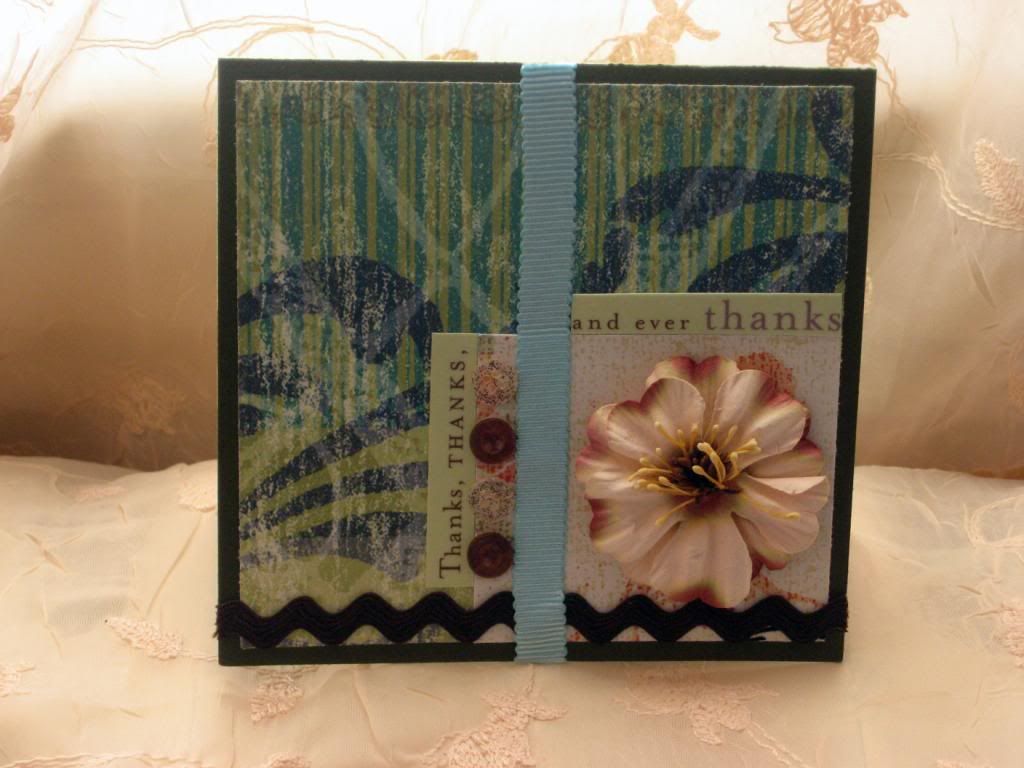
Another favorite of mine. So much fun. Again inspired by the geniuses at Cardmaker magazine. I love all the colors in this card. For the clear buttons I stamped them with white ink and then sprinkled chestnut glitter on them then used my embosser heat gun on them so the glitter would stay. Again, I used the Thank You quotes on the outside of this. The dark green in this is awesome and I love how the inside came out. Simple but sweet :)
 
CARD 468
Photobucket

Photobucket

Photobucket

Photobucket

Photobucket

Photobucket
 

Blog Template by YummyLolly.com